

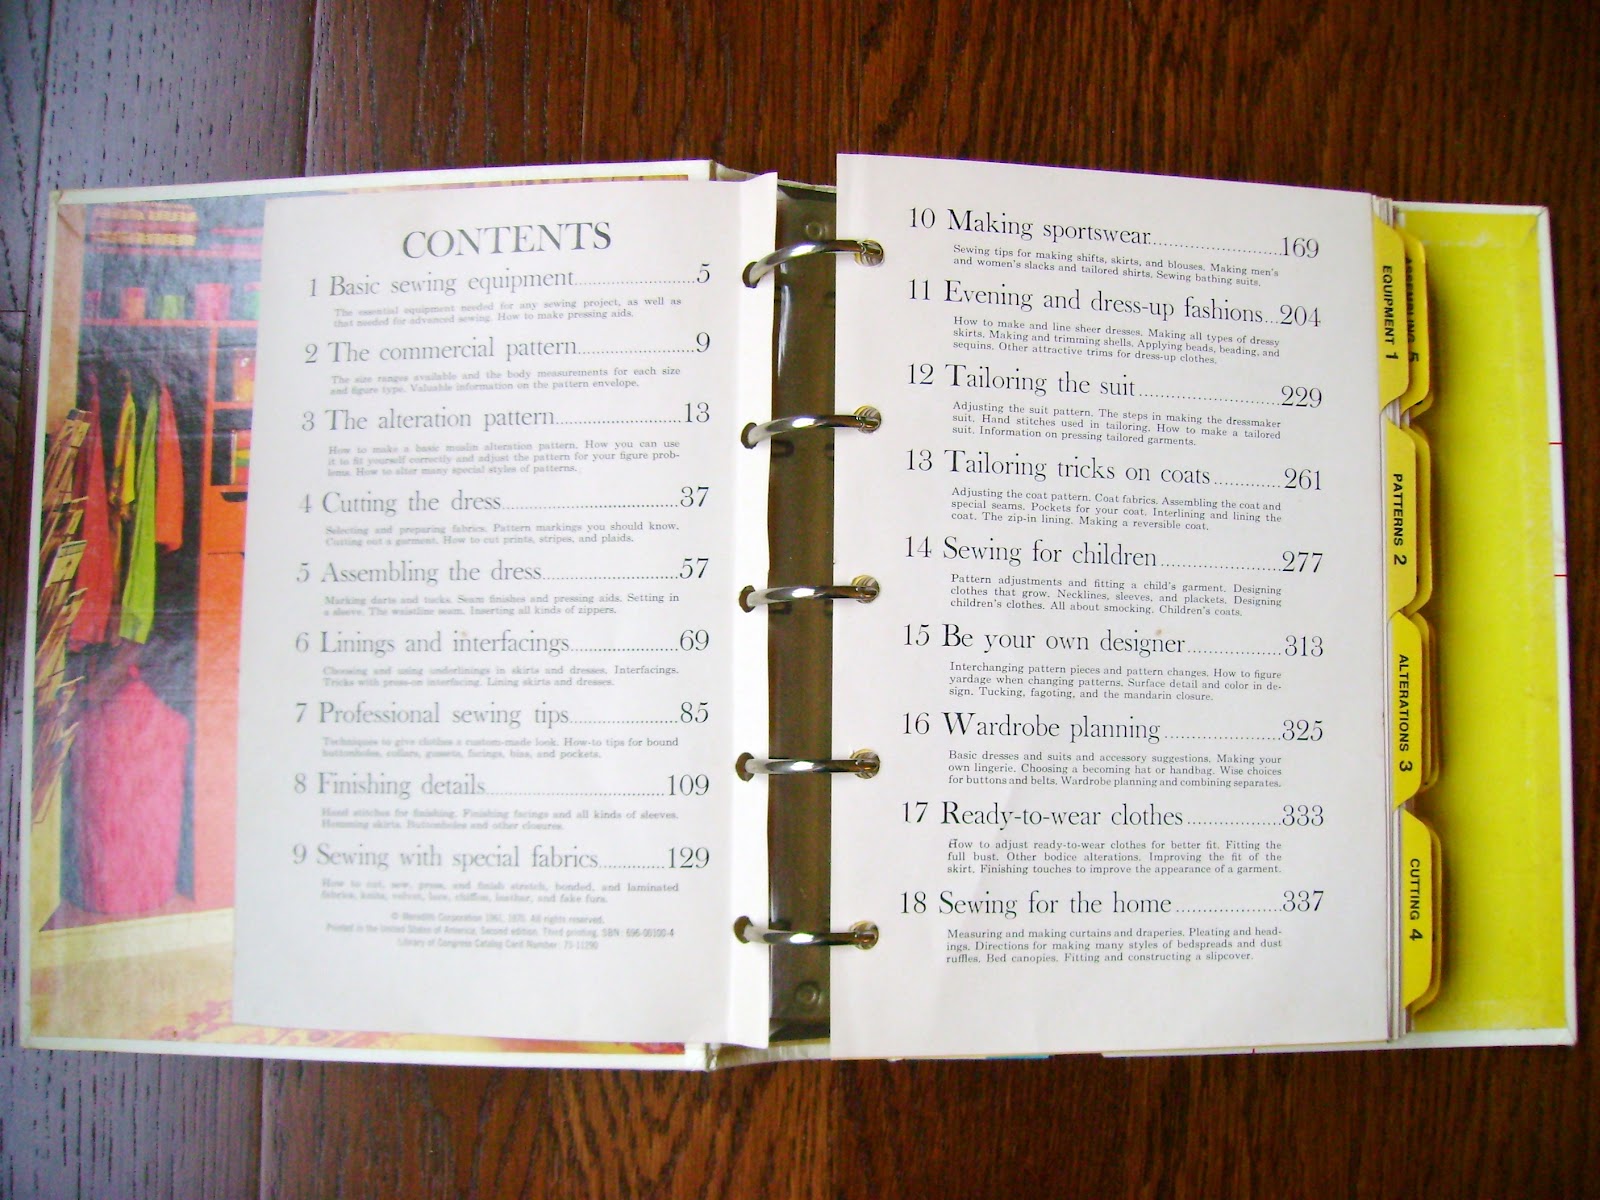
I stumbled upon this book at Goodwill a few months ago and for $3, I just couldn't pass it up. I bought it mostly for the "Sewing For Home" section, which has wonderful pictured instructions for lined, pinch pleat curtains as well as fitting and sewing slipcovers. But most of the book is devoted to sewing clothing and includes fitting and altering patterns, finishing details and everything in between.


The book also has a section about altering ready-made clothing. Maybe it has something to do with "growing up" (lol), but the ill-fitted clothing hanging in my closet is more annoying than ever. Last summer I purchased two identical blouses on sale at Talbots. I wore them frequently but it always annoyed me that the split neck hung messily open.


One day it hit me that I could simply add another hook and eye above the existing one. Five minutes A month later (when I finally got around to it) the problem was solved!

Also... this Landsend skirt.... wonderfully made, quality fabric, fully lined...need I say, awkward length? I'm probably preaching to the choir here, but shortening a hem is one of the easiest alterations to do. You don't even need a sewing machine.


Before (gaping top, awkward skirt length)/ After (added a hook & eye, shortened skirt)
Hemming How To
Materials:
mirror
straight pins
iron, ironing board
scissors
sewing machine (optional)
1. Decide what you want the finished length of the garment to be. You'll have a chance to adjust this later.
2. Take off the garment, turn it inside out and turn the hem up using your adjustable hem gauge or measuring tape to achieve the desired length. Pin all the way around.
3. Put the garment back on, make sure you like the length (if not, take it off and adjust it to your liking) and use a full length mirror to make sure it's even all the way around.
4. Turn garment inside out, slide over your ironing board, iron hem in place (but don't iron over the pins), press well so that there is a crease at the new hemline, then remove the pins.
5. Now you have to determine your hem allowance and how you are going to sew it in. Do you have a sewing machine? A serger? Or are you going to hand stitch the hem in? If you have and are going to use a serger and are still reading this, you must be terribly bored. Go find something better to do with your time.
6. Measure the original hem. If it's turned under, you may have to remove a few stitches to get an accurate measurement. I almost always try to mimic the original hem when re-hemming something. Assuming you're not going to use a serger to finish the edges, you'll want to make sure you have 1/4" of fabric to turn under, in addition to your hem allowance.
7. With your garment still inside out and still slid through the ironing board, use your adjustable hem gauge and scissors to trim off any excess fabric.
8. Again, using your hem gauge, iron the raw edge under 1/4".
9. Slip stitch or use a sewing machine to sew the hem in. I used an invisible hem stitch setting on my sewing machine for this skirt. It required a practice run, but the finished look was worth it. More casual garments may call for top-stitching.
10. Press the hem again. This is a very important step... unless you want everyone to know that you are just learning to alter hems.
The BHG Sewing Book has also provided some good laughs... homemade boxers anyone?


wow! great work. Want to come remake my closet!
ReplyDeleteI would have bought that book too!!
ReplyDeleteI might just have to go through my closet & start altering! I have TONS of clothes that I have bought.....got them home & didn't like the way they looked. Don't ask me why I didn't take them back because I couldn't tell ya. I could see David now cruising around in a pair of swimming trunks you made especially with that nice lining! haha Im sure he would be very proud. :)
ReplyDeleteThat's awesome! Altering the way your clothes look is kind of like repurposing a piece of furniture in your house :)
ReplyDelete