Showing posts with label DIY. Show all posts

Wednesday, June 12, 2013

Reupholstered Ottoman + Wire Basket Solution

After coming up short on some yummy olive green velvet, I decided to use b/w gingham on this little stool.  It's the first real reupholstering I've ever done, so who knows how long it will last.  But it was fairly easy to do.  I simply removed the black needlepoint cover (and the zebra print slipcover that had been covering it for years) and used the slipcover as a pattern to cut the top piece and the banding.  I attached one length of welting and the banding to the top.  After fitting it on and stapling it tight all the way around, I stapled the second piece of welting along the bottom edge and sprayed it with a couple coats of Scotchguard. 
 
My fingers are crossed that Lloyd won't upchuck on it anytime soon.  But the record's not good.  He seems to use it as a method of marking his territory on anything new or different in this place.  Nice.
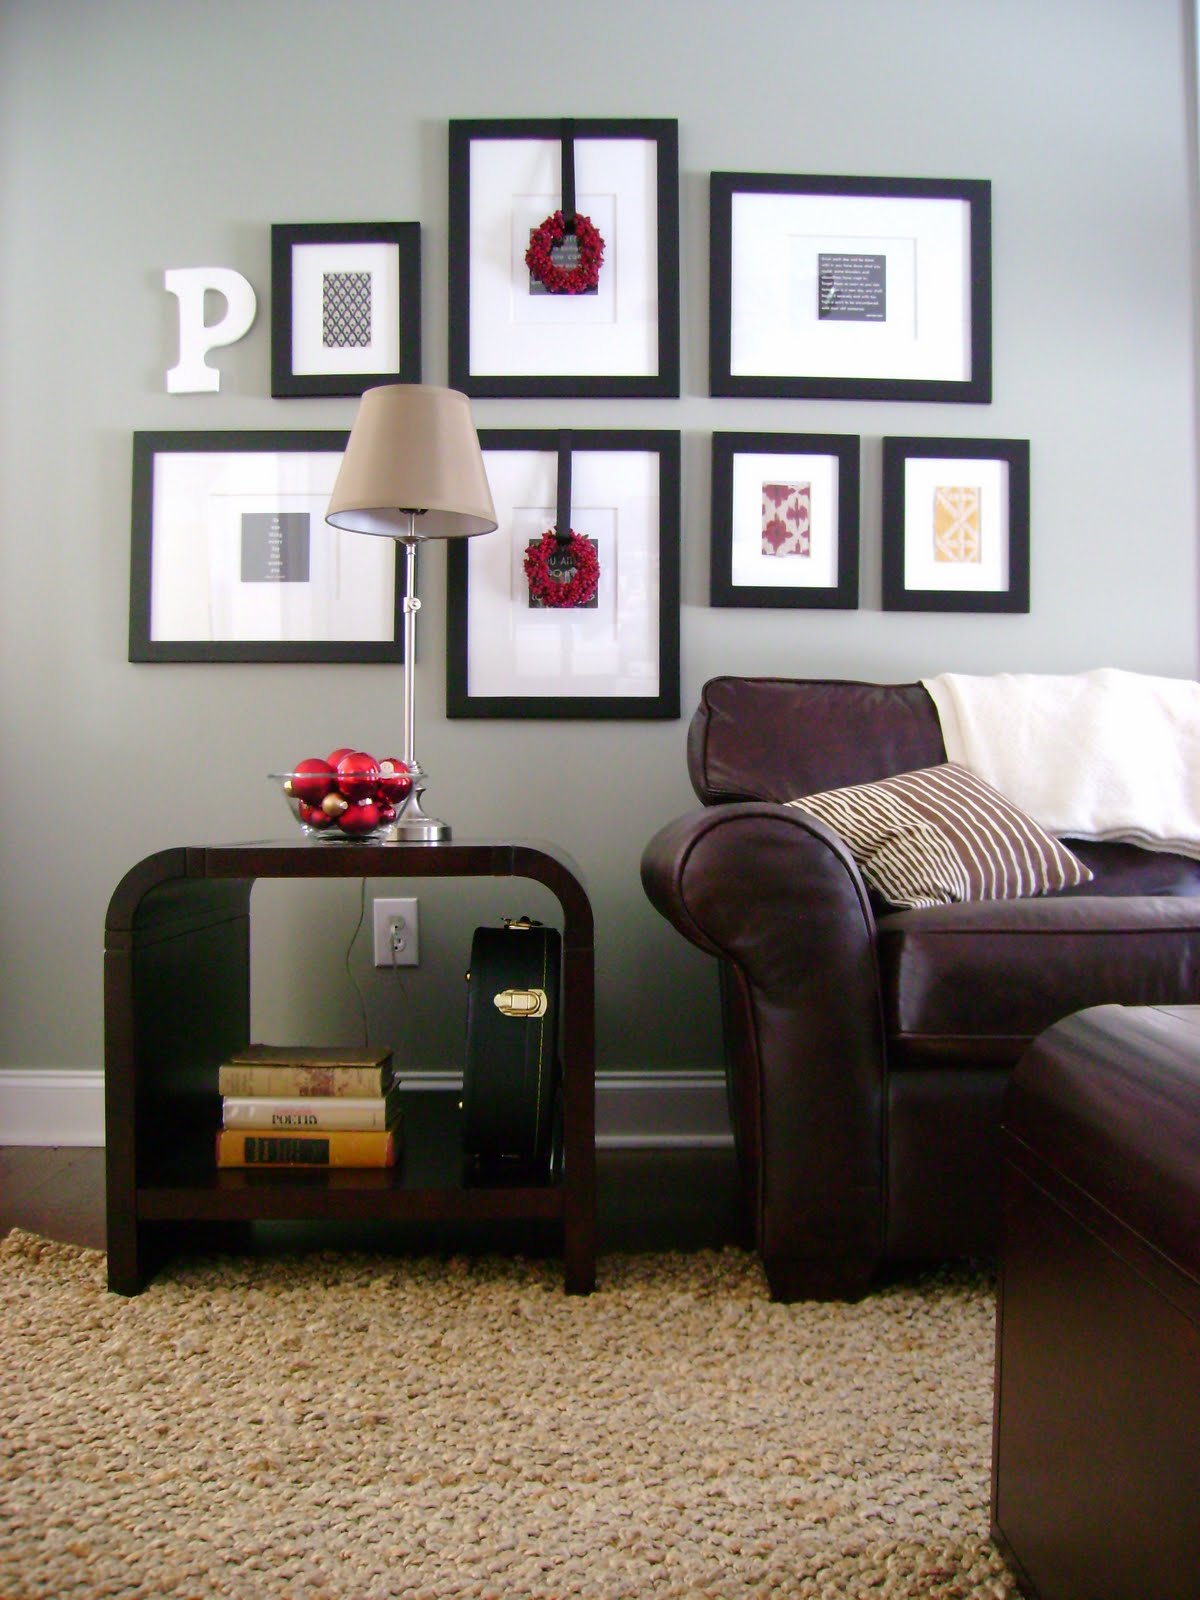
 
After / Before
 
This huge wire basket has been in the basement for a few years.  Since we moved here, I've never quite known what to do with it since it would probably scratch whatever wood surface it sat on.  In a moment of pure genius (yes, genius:), it hit me I could wrap the bottom with twine.  Twine is seriously one of the best things ever invented.  Here it is in all its glory...
 
ps.  Hey, there's the missing domino.
 
 
Now, off you go.  Find something to wrap with twine.


Wednesday, June 05, 2013

Office: Sewing Closet + Paint Chip Memo Board


This sewing closet has been in the works for over a year.  It's still very much in progress, but some recent cleaning up and reorganizing has made it more functional and better looking than it's ever been!
 
Old Sewing Machine Table Base- hocked from my parents barn long ago (catch a glimpse of it in this post as an end table)
Grey Stool- junk shop find, doubles as a small side table for the couch
Pegboard- built by David, painted and stenciled by me
Galvanized metal buckets- Ikea, Socker, with holes drilled so they hang
White Storage Boxes- Ikea, Kassett
Task Lamp- Target
Craft Supply Organizer- basic over-the-door shoe holder
Clothespin Chalkboard Markers- The Plaid Barn
Clear Pocket (on left door)- Staples by Martha Stewart
 
Many of these items have almost ended up in the Goodwill box more than once because they didn't fit my vision of ideal organization.  Namely, that shoe holder.  But it has turned out to be absolutely perfect for the space.  This closet is truly a testament to finding the perfect items by shopping your house!
 
 
Also, after seeing this paint chip memo board on Burlap & Lace and Cindy's version from So the Cook Said, I decided to jump on the bandwagon.  Cuz, seriously- $4!  I used a little glue and some Velcro to attach a dry erase marker to the bottom of the frame.  It's turning out to be super-convenient and worth way more than four bucks.
 
Hope y'all are having a happy Wednesday!

Friday, March 08, 2013

Pleated Ikat Valance

Let me remind you...
 
Now lookee...
 
I had a bit of trouble getting started on this project because I was unsure about how to mark a perfectly straight cut-line through the width of the fabric.  Do you mark and cut based on the print?  What if the design is not printed straight on the fabric?  Do you use a measuring tape or is there such thing as a seamstress square?  Maybe something quilters use?  I ended up finding a way to make it work, but I'd love to know the correct way.

David cut me a length of board and mounted L brackets on the underside.  I finished all the edges and ran a basting stitch along the top to hold the box pleats in place before stapling it to the board.  Ideally, the valance would have a box pleat in each corner, but I didn't have enough fabric width.  So instead, it simply wraps around the sides.  Lastly, I glued the very top edges of the valance to each end of the board.

We mounted it right at the ceiling and I'd say the space behind it is half wall and half window.  Originally, it hung down an additional five inches.  Unfortunately, I don't have a picture to show you, but raising the hem made a huge difference.  Even David noticed it!  And if you're married to a pretty stereotypical man's man (said lovingly), you know this a memorable event. :)

Next up- the full office reveal... I know, I know- it's like Christmas in March.  Do try to contain your excitement.

Wednesday, March 06, 2013

Diamond-Painted Pinboard

Inspiration from The Happy Home via Pinterest...

 
My version...

 
Materials:
4 Cork Tiles (12" square)
Painters Tape
Paint + Paint Brush
23 3/4" sq. 1/4" Plywood + Glue (optional)
2 sawtooth picture mounts or 16 3M velcro strips
 
1.  Follow Belinda's instructions.  I marked from the outside corners and made my stripes the width of the Frog Tape.  The last stripe (center square) ended up being a little narrower than the rest.
2.  Let dry, then (optional) glue the tiles to a piece of plywood.  Push the center edges together as tight as you can before the glue dries, then stack some heavy books on top and let that sit for a few days.
3.  Mount to the wall using 3M velcro strips as shown in the instructions or use a picture hanging method of some kind.  I used two little sawtooth picture mounts.
4.  Pin away!
 
Currently our pin board holds ticket stubs that we have saved from all sorts of events... concerts, conferences, sporting, tourist attractions, etc.  There are also a couple special pictures, a painted bookmark from my Grandmother, some fabric samples and a couple Herman comics that are still funny every time.
 
I'm sure this board will end up collecting many other items, but for now I'm enjoying the nostalgia!

Friday, March 01, 2013

Slipcovered Lampshades

These brushed nickel buffet lamps were a special wedding gift.  After finding the most perfect silk shades at RH outlet, we have used them everywhere...

Living Room, Winter 2009
 
Master Bedroom, Spring 2011
 
Office, Summer 2012
 
Honestly, I think they kept ketting moved around because they just had no personality.  I've thought off and on about recovering the shades or adding trim, but always talked myself out of it... mostly for fear that I would permanently mess up a good thing.  The closest RH outlet is five hours away, so replacements of this quality are not an option.
 
A few weeks ago, it hit me that I could sew a slipcover!  But having never seen this DIY online, I had no vision for what it would actually look like.  Enter google, which returned this link.
 
Materials:
Lampshade
Fabric + Thread
Pattern-making Paper (wrapping, kraft, news, etc)
Pen or Marker
Ruler or Hem Gauge
Scissors
Iron + Ironing Board
Straight Pins
Sewing Machine
Fabric Glue (optional)
 
1. Trace your lampshade.  Roll and trace at the same time.  If you haven't seen tutorials for this online already, just google "how to trace a lampshade".
2. Cut out your pattern, adding a 1 1/4" seam allowance on the top and bottom edges.  Add 3" - 5" to each end.
3. Pin your pattern onto your slipcover fabric and cut out.  Instead of pinning, I use small weights or dinner knives (the handles of which are heavy).
4. Using your ruler or hem guage, carefully iron the top and bottom edges under 1/2" twice.  The height of the slipcover should be approx 1/2" greater than the height of the lampshade.  This will give you approx 1/4" overlap on the top and bottom edges.
5. Now you can either sew or glue down your top and bottom seams.
6. Next, fit your slipcover to your lampshade (wrong side facing out).  I found this was easist to do with the lampshade still on the lamp base.  Make sure the slipcover is centered (vertically) on your shade.  Pinch it snug- not too loose and not too tight. Run your pins vertically.
7. Slide the slipcover off the shade and make a vertical line along your pins where you want to sew.  If your slipcover fabric is light-colored, make sure you use disappearing ink, markbgone or light pencil.
8. Remove your pins and sew on the line.
9. Trim the vertical seam to 1/2" then iron the entire slipcover and press open the seam.
10. Enjoy your new lampshade!
 
I used left over black and white gingham fabric from this project.
 
Backing up a little, you see a few other finished projects peeping out! 
 
...more office details to come!

Wednesday, February 27, 2013

Pinterest Challenge Time!

 
I'm not gonna lie.  This video had a lot to do with my participation.  It's such a riot and guaranteed to put a smile on your face.  Also, apologies to my regular readers for the repeat.
 
Inspired by this poster from ChildrenInspire...


and this tutorial from See Kate Sew...


I set out to make gifts for two very dear little girls!


Annika arrived in Arizona early this summer and joined her family here in Virginia...
 
 
My niece Kensey arrived in North Carolina in August before going home with her family to Kansas...
 
 
Hints:
  • Use fabric scraps if you have them.  Use a mix of prints and textures.  Remember you can cut stripes on the diagonal and you can use the backside of fabrics for a different look.
  • Start by choosing the fabric you want to use for the more prominent states (Washington, California, Texas, Minnesota, Florida, Alaska) and any others that have special significance.
  • Use these instructions to embroider words onto fabric.  I used them to a "T". They are perfect!
  • Find some good podcasts to listen to.  My three favorites are This American Life, Revive Our Hearts and The God Journey.  I know, weird mix.
  • Finally and most importantly, pray special prayers for the child as you are working.
  • Enjoy the blessing of giving a handmade gift!
And just to create a little suspense, you should know that these projects are ready to be shared...
Here's my commitment to share one project every week (fingers crossed)! Happy Pinterest projecting to you!


Thursday, November 15, 2012

Fall Wreaths

I must have a thing for wreaths.  These were inspired by Pinterest (imagine that).
 
 
via / via
 
After comissioning David to pick me some corn leaves, then letting them sit on the porch for three weeks, I finally got around to finishing another project.
 
12" styrofoam wreath form + corn leaves (husks, whatever) + hot glue =


They are a little wide for the doors.  I obviously didn't measure before I started glueing.  And they are pretty delicate.  To tell you the truth, they are probably not going to hold up long enough to justify the all trouble they were worth.  Shhh... don't tell David.
 
But they sure are pretty, I think!
 
So is there something I could spray them with that would keep the leaves from being so crumbly?  Like some kind of acrylic finishing spray?  Or would that just make them look weird and glossy?
 
ps.  After yesterday's post, I feel like a total wishy-washy hypocrite.  One minute posting about how I'm convicted to live a simpler, less-materialistic lifestyle and the next posting about some home-decor project.  Aren't they mutually exclusive?  I don't know, but I'm pretty sure the Lord wants to show me the answer.  Life is a balance. 


Wednesday, November 07, 2012

Handmade Baby Gifts

Inspired by this poster from ChildrenInspire
 
and this tutorial found on pinterest,

 
I set out to create gifts for two dear little girls...

 
Annika arrived in Arizona early this summer and joined her family here in Virginia

and Kinsey arrived in North Carolina in August before going home with her family to Kansas!
 
As a disclaimer, let me just say that these last couple posts are very deceiving.  I am notorious for starting projects and never completing them, offering to fix or sew something and never returning it, dreaming big and buying the supplies, then sticking them under the bed only to find them years later.  But I've decided that I've had enough, so the last couple weeks (months, actually) I've been pulling things out and just forcing myself to finish them.  It's very much been at the expense of the Radiance From Ruins etsy shop, but I can't say that I regret it.
 
In the interest of continued motivation, here's a recap...
 
fixed Rebekah's cute throw pillow that was chewed up by her puppy
sewed a new cover for a nursing pillow belonging to the church nursery
finished custom drapery order for a local lady who I've been blessed to get to know
finished custom pillow order for the dorm room of some super-special girls
finished scrappy maps for Annika and Kinsey
 
The next sewing projects will be...
 
making a pillow and leg warmers from an old sweater (from this tutorial)
altering a slipcover for the office sofa
creating a valance of some kind for the office windows
 
So the whole point of this is just to testify to how nice it is to NOT over-commit and instead simply focus on the present and what you already have going on around you.  I could definitely spiritualize this, but I'm sure you get it.
 
Now, off you go!  Finish something... a project, a book, supper... anything!

Tuesday, November 06, 2012

Refashioned Outfit

Before- hello, 1992...
 
complete with ribbon rosebuds and embroidered flowers.
 
Inspiration via rompshop
 
After...
 
so cute I can hardly stand it!
 
The art of creativity truely is using what you have.  It would have been fun to go to Goodwill and find some old wool sweaters for the leaves and flowers, but that seemed silly when I knew I had some felt scraps left over from another project.  Then I realized that my button box contained exactly zero options for the center of the flowers.  Good thing I recently learned how to make french knots.  Now I'm just hoping my niece hasn't outgrown this outfit in the time it's taken me to finish it!

Tuesday, October 23, 2012

Evolution of a Wreath

Last year I made some weaths inspired by...

via

that ended up looking cute, but seriously puny.


They've been in the closet for almost a year now, just waiting for a good idea to come along.  Enter, Pinterest (of course)...
 
via

Genius, huh?  So I grabbed two 18" grapevine wreaths at AC Moore for $2.99 a piece and used a little floral wire to attach them to the moss covered foam wreaths.  Much better...


Here's a little side-by-side for you "before & after" lovers.