
Living Room, Winter 2009
Master Bedroom, Spring 2011

Office, Summer 2012

Honestly, I think they kept ketting moved around because they just had no personality. I've thought off and on about recovering the shades or adding trim, but always talked myself out of it... mostly for fear that I would permanently mess up a good thing. The closest RH outlet is five hours away, so replacements of this quality are not an option.
A few weeks ago, it hit me that I could sew a slipcover! But having never seen this DIY online, I had no vision for what it would actually look like. Enter google, which returned this link.
Materials:
Lampshade
Fabric + Thread
Pattern-making Paper (wrapping, kraft, news, etc)
Pen or Marker
Ruler or Hem Gauge
Scissors
Iron + Ironing Board
Straight Pins
Sewing Machine
Fabric Glue (optional)
1. Trace your lampshade. Roll and trace at the same time. If you haven't seen tutorials for this online already, just google "how to trace a lampshade".
2. Cut out your pattern, adding a 1 1/4" seam allowance on the top and bottom edges. Add 3" - 5" to each end.
3. Pin your pattern onto your slipcover fabric and cut out. Instead of pinning, I use small weights or dinner knives (the handles of which are heavy).
4. Using your ruler or hem guage, carefully iron the top and bottom edges under 1/2" twice. The height of the slipcover should be approx 1/2" greater than the height of the lampshade. This will give you approx 1/4" overlap on the top and bottom edges.
5. Now you can either sew or glue down your top and bottom seams.
6. Next, fit your slipcover to your lampshade (wrong side facing out). I found this was easist to do with the lampshade still on the lamp base. Make sure the slipcover is centered (vertically) on your shade. Pinch it snug- not too loose and not too tight. Run your pins vertically.
7. Slide the slipcover off the shade and make a vertical line along your pins where you want to sew. If your slipcover fabric is light-colored, make sure you use disappearing ink, markbgone or light pencil.
8. Remove your pins and sew on the line.
9. Trim the vertical seam to 1/2" then iron the entire slipcover and press open the seam.
10. Enjoy your new lampshade!
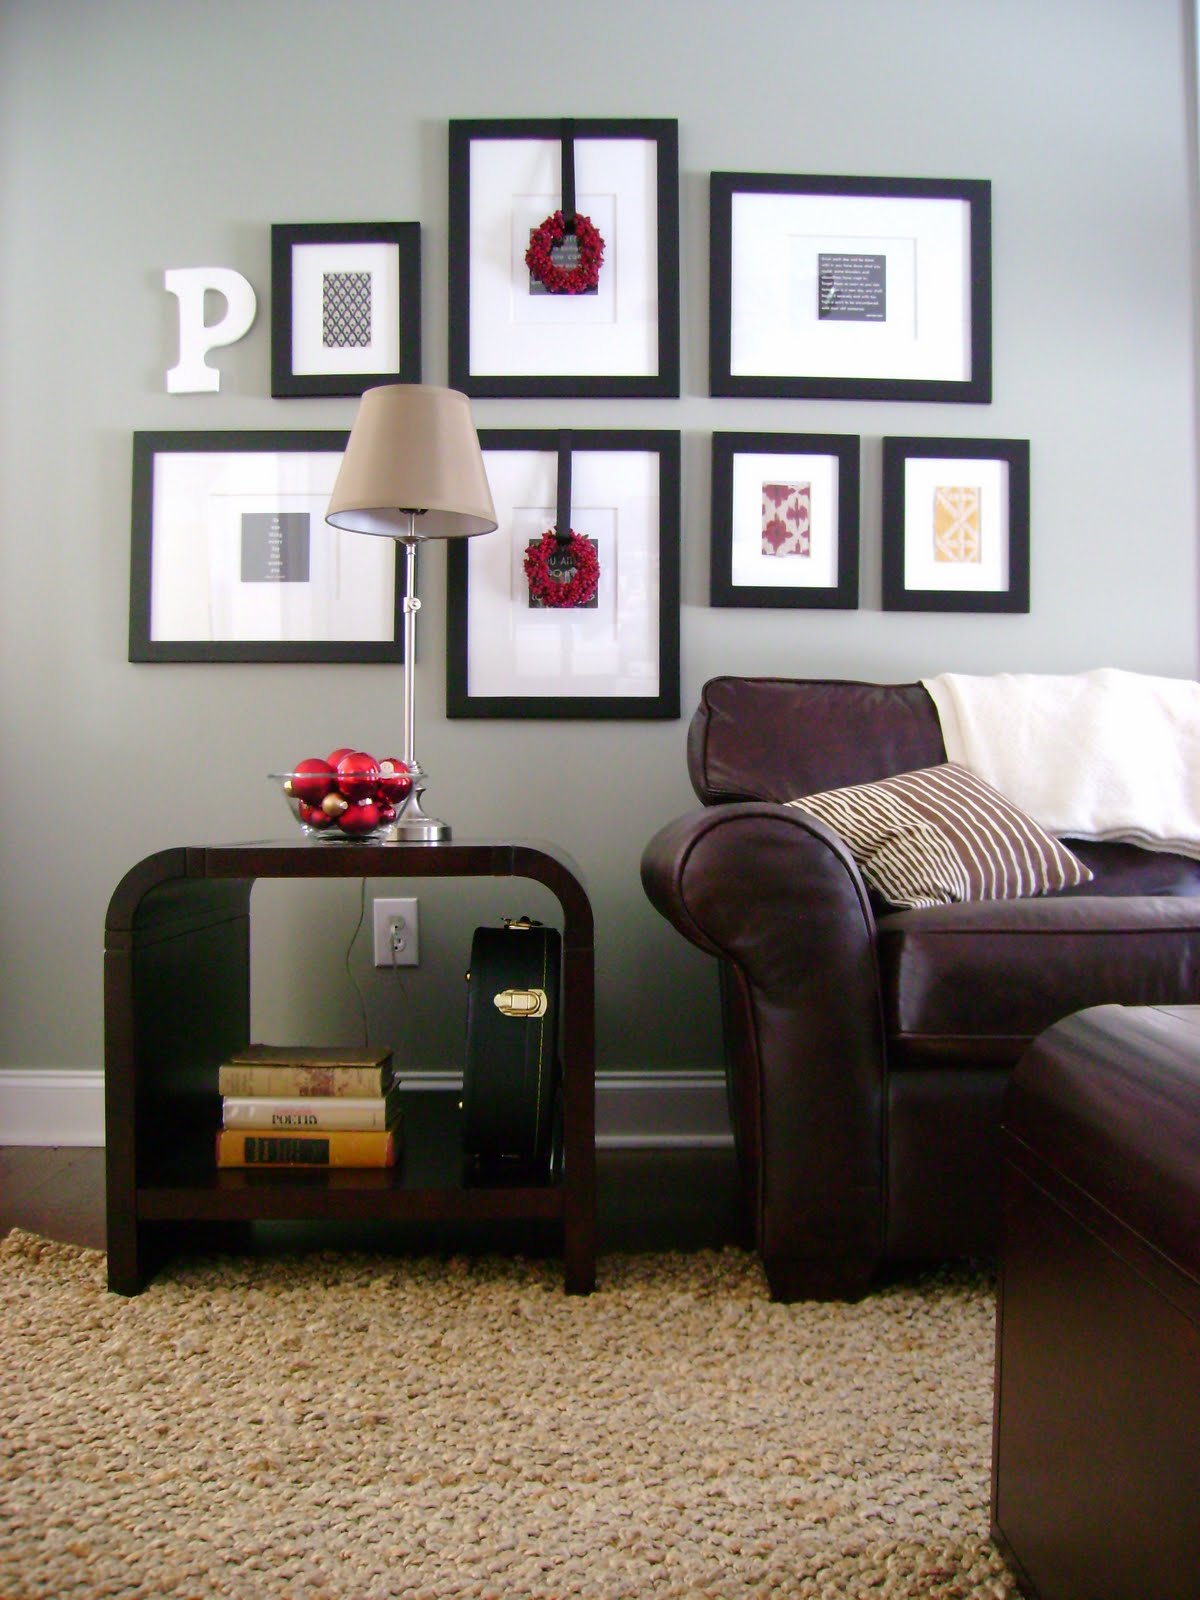
I used left over black and white gingham fabric from this project.

Backing up a little, you see a few other finished projects peeping out!

...more office details to come!


Cute! Definitely some personality showing up now!!
ReplyDelete